|
Hello and welcome back!! Today I am going to talk about my finished pit fire piece. The progress of creating my piece begin with clay, which I used coil to create my box and its lid. Then I let it dry before beginning the actual pit fire progress. This progress began with covering it with an acid called ferric chloride before wrapping it with other objects that I brought to burn it. I brought eggs shells, hair, and dog food but I actually used in my piece is some of the egg shells, dog food, two different type of salt, the ferric chloride, and two long piece of black wire. The ferric chloride was used to create a red orange color, the wires was there to add black as well as dog food for a black and brown color, and the acid that we sprayed at Sudkamp's house was there to add blue. The egg shells were there to create a unique pattern. Once I had everything around my piece, I wrapped it around a yellow piece of paper then aluminium foil. Next step of this progress is the actually burning, where we did at Sudkamp's house and once it cool down, Sudkamp brought it to school. We ended the progress of pit fire here after I covered it in spray scealer for the shine. I think that in general I was successful in the general shape and texture of my piece, which ended up pretty smooth and box like exactly like I wanted. I also did well in the general covering of my piece, which is completely covered. The only thing that I would do again is the general coloring of my piece. I wanted more color to my piece; it ended up too brown for my taste. I wanted to have more red, blues, and bright colors throughout my piece. I noticed that some people sprayed some normal paint around their piece before firing. If I could have done it again, I would have added some paint to my box. I also would have put more egg shells around my piece in prder to create more of a pattern throughout and perhaps less dog food to get rid of that dark brown color. Overall, I like my piece and I enjoyed the pit fire progress. I would definitely do it again if I have the chance. Thank you for reading and hoped you enjoyed!! 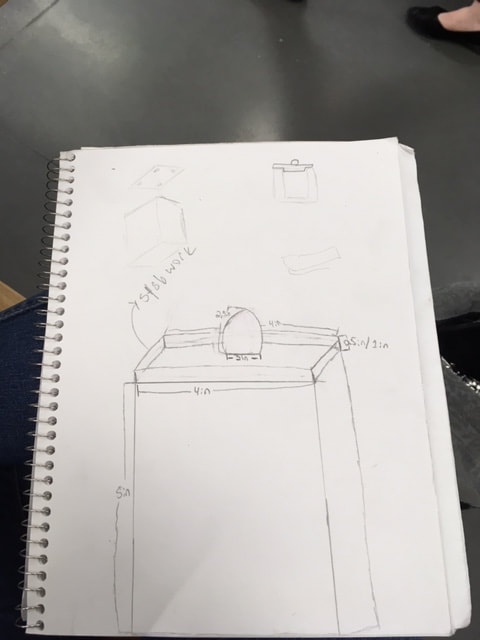 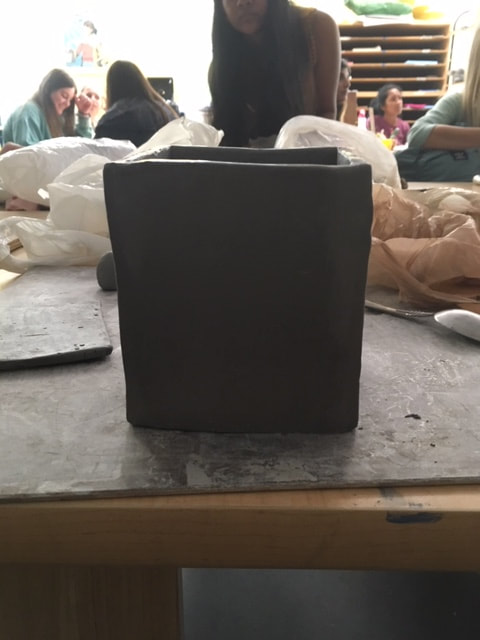 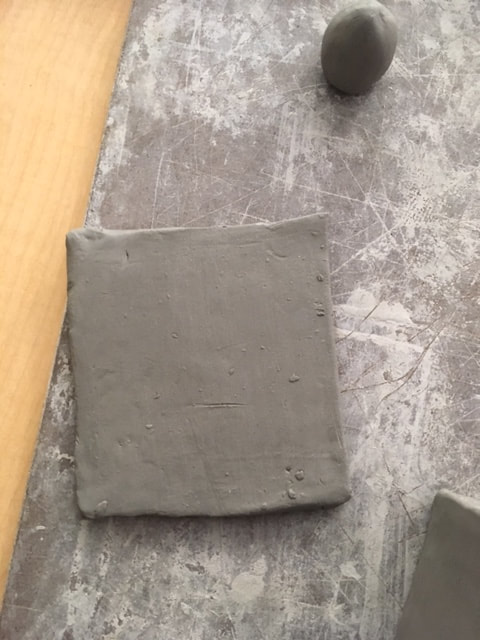 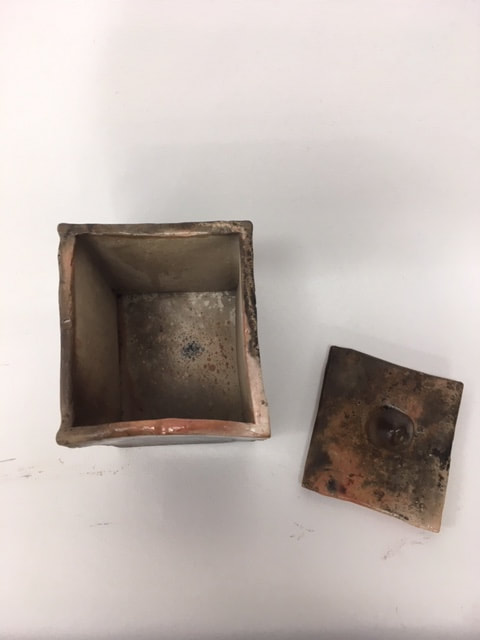 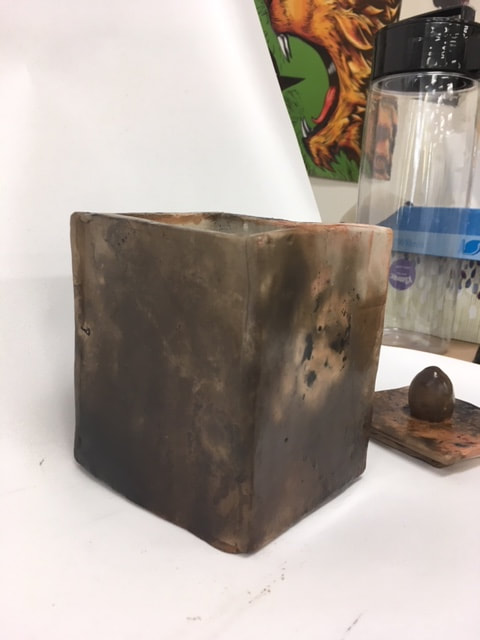 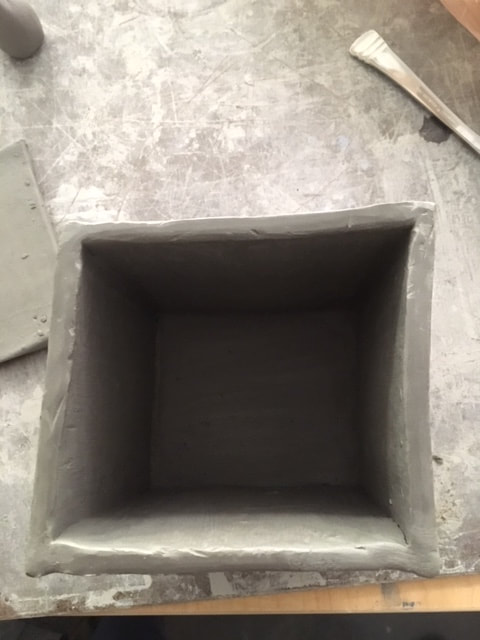
0 Comments
Hi and welcome back This blog post is about the paper mache that I been working on with my table. The people that I am working with are three girls and their names are Kelsey B, Danai K, and Yamileth. Everyone in my group pretty much done every step of this project at least once. We started this project by researching pictures and types of butterflies and bringing the the photos to school. In the end, we decided on two of my pictures. Next, we had to cut out the basic shape of our butterflies from cardboard and Danai and I did that on the first day because the other girls weren't there for the first day. The second day, Kelsey, Yamileth, and I cut out the next butterfly. The next step is to begin covering the cardboard, which we did with aluminum foil on every piece of our butterflies before coating with flour and water dripped in paper. That took the longest time because we made one of our wings of our butterfly way too big, which led to the biggest difficulties from this project. The general size of our butterfly was way too big making our wings take twice as long as everyone else. If I could redo the project again, I would have made the wings at least twice as small. However, it's okay because we only had to make one butterfly. Right now, we are in the progress of finishing up the coating of one wing, letting the body, and sandpapering the other wing as well as painting it. The next thing that we need to do is glue the body to the wings and paint everything. The successes that we had with the project is generally the overall appearance of our butterfly because the wings have a very realistic appearance of a butterfly wing. We have a slight indent on the side of the wings that I think looks very realistic to the real wings. Thank you for reading and hoped you enjoyed 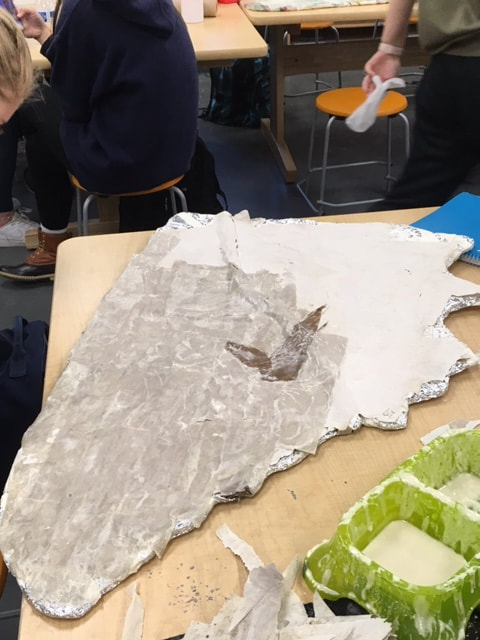 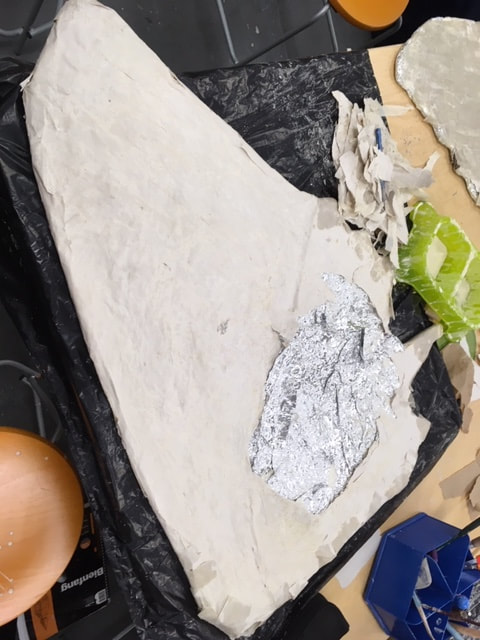 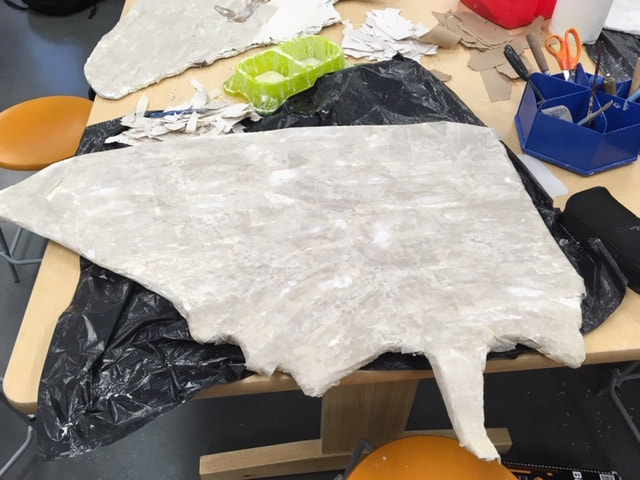 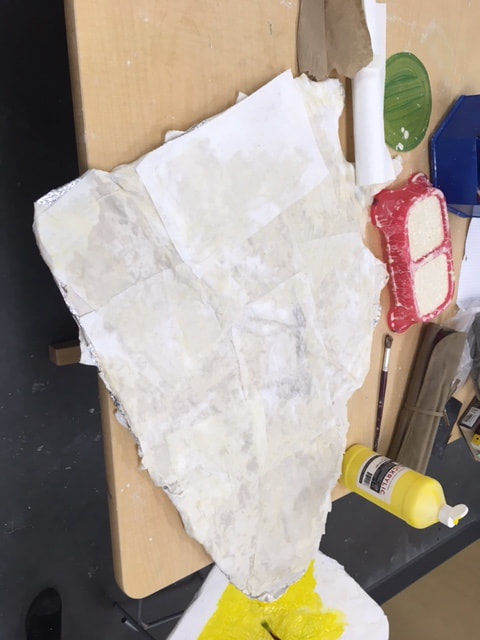 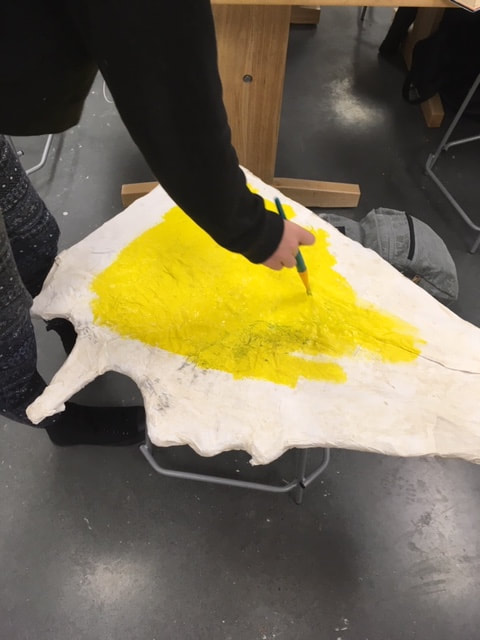 |
AuthorWrite something about yourself. No need to be fancy, just an overview. Archives
January 2019
Categories |
 RSS Feed
